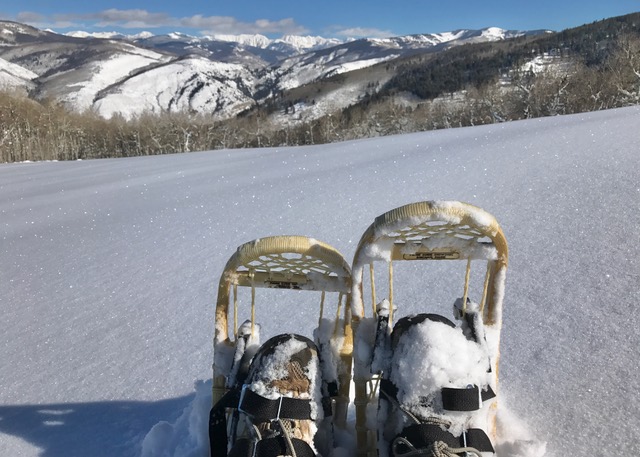
“Alright you guys, I’m going to demonstrate how to step-slide or run down this hill.” I continued by saying, “Plant your weight directly above your shoe, shifting some of your weight slightly to your heels and take big steps as you go down. Be sure to lift your toes so your snowshoes are parallel to the horizon.” Down I went briskly but with tact.
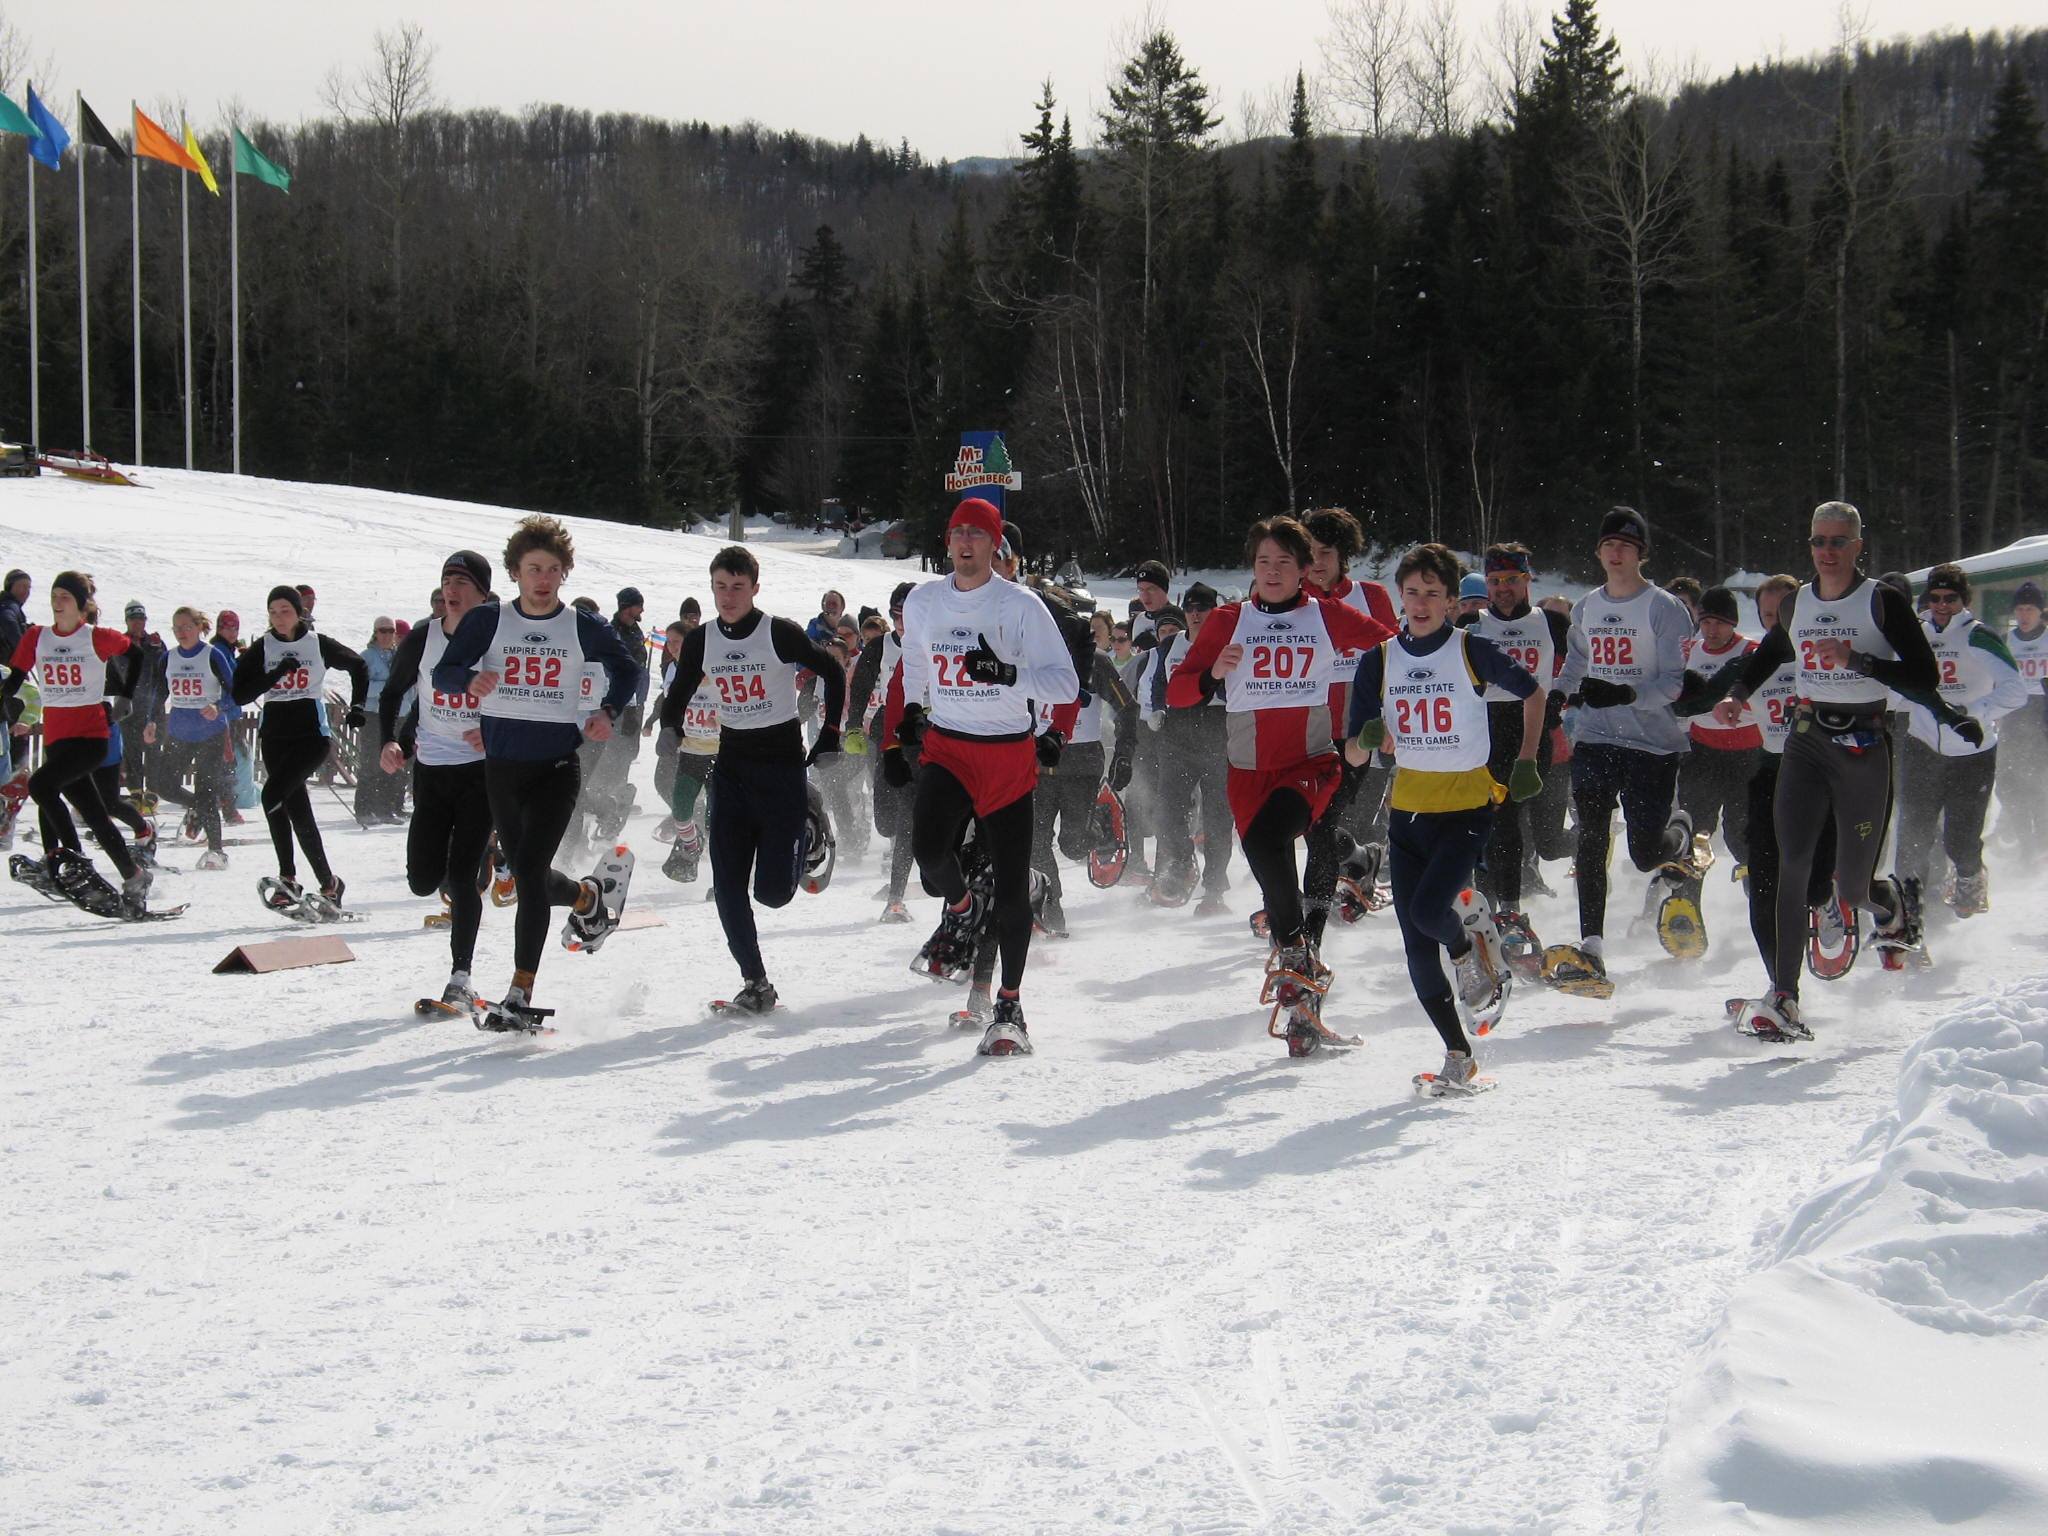
“Now it’s your turn. Come on down! Let’s see who can make it to the bottom first.” I yelled. They looked at each other as if I was nuts, shrugged their shoulders, and down they came with snow flying. Their eyes were as big as saucers as a group of fifteen students ran downhill through knee-deep snow in an attempt to learn a new descending technique on snowshoes. I was told that they never had so much fun in the snow before.
According to snowshoe author Phil Savignano, “One of the greatest aspects of snowshoeing is that the learning curve is so short.” Larry Olmsted, another author says, “Start by putting one foot in front of the other. It’s that simple.” But I assume both authors agree that learning basic snowshoeing techniques is essential in order to mobilize effectively and safely in snow.
Approaches of teaching snowshoeing techniques will vary depending on the teacher. I find the best approach for me is to identify the technique and why it is used, explain the procedure, demonstrate the procedure, and then have the students try the technique for themselves. But the final and most effective ingredient to this approach is to put the skills to work. I do this by providing a variety of activities and games that help to enhance snowshoeing techniques through practice. This approach also makes learning to snowshoe fun.
Authorities will vary slightly on technique names and definitions. But there are some techniques that are universal. I recommend looking into techniques cited by various snowshoeing authors and instructors (see references at the end of the article). Below I use technique names that I adopted from the various authors. Then create your own activities and games, or use some of those to follow.
Introducing stride, getting up, turning around, and breaking trail are the first series of basic skill I teach in snowshoeing. Once outside on snowshoes, I have students line up a couple arm distances apart. I then surprisingly have them fall back into the snow and make a “snow angel.” Adults love doing this as much as kids. I say, “now that you are down, I will show you how to get up.” I demonstrate and explain a simple technique of getting up by rolling over onto their front, pushing up into a half-keeling position, and rising by using their knees to brace their hands/arms. It’s a simple and fun beginning to a course.
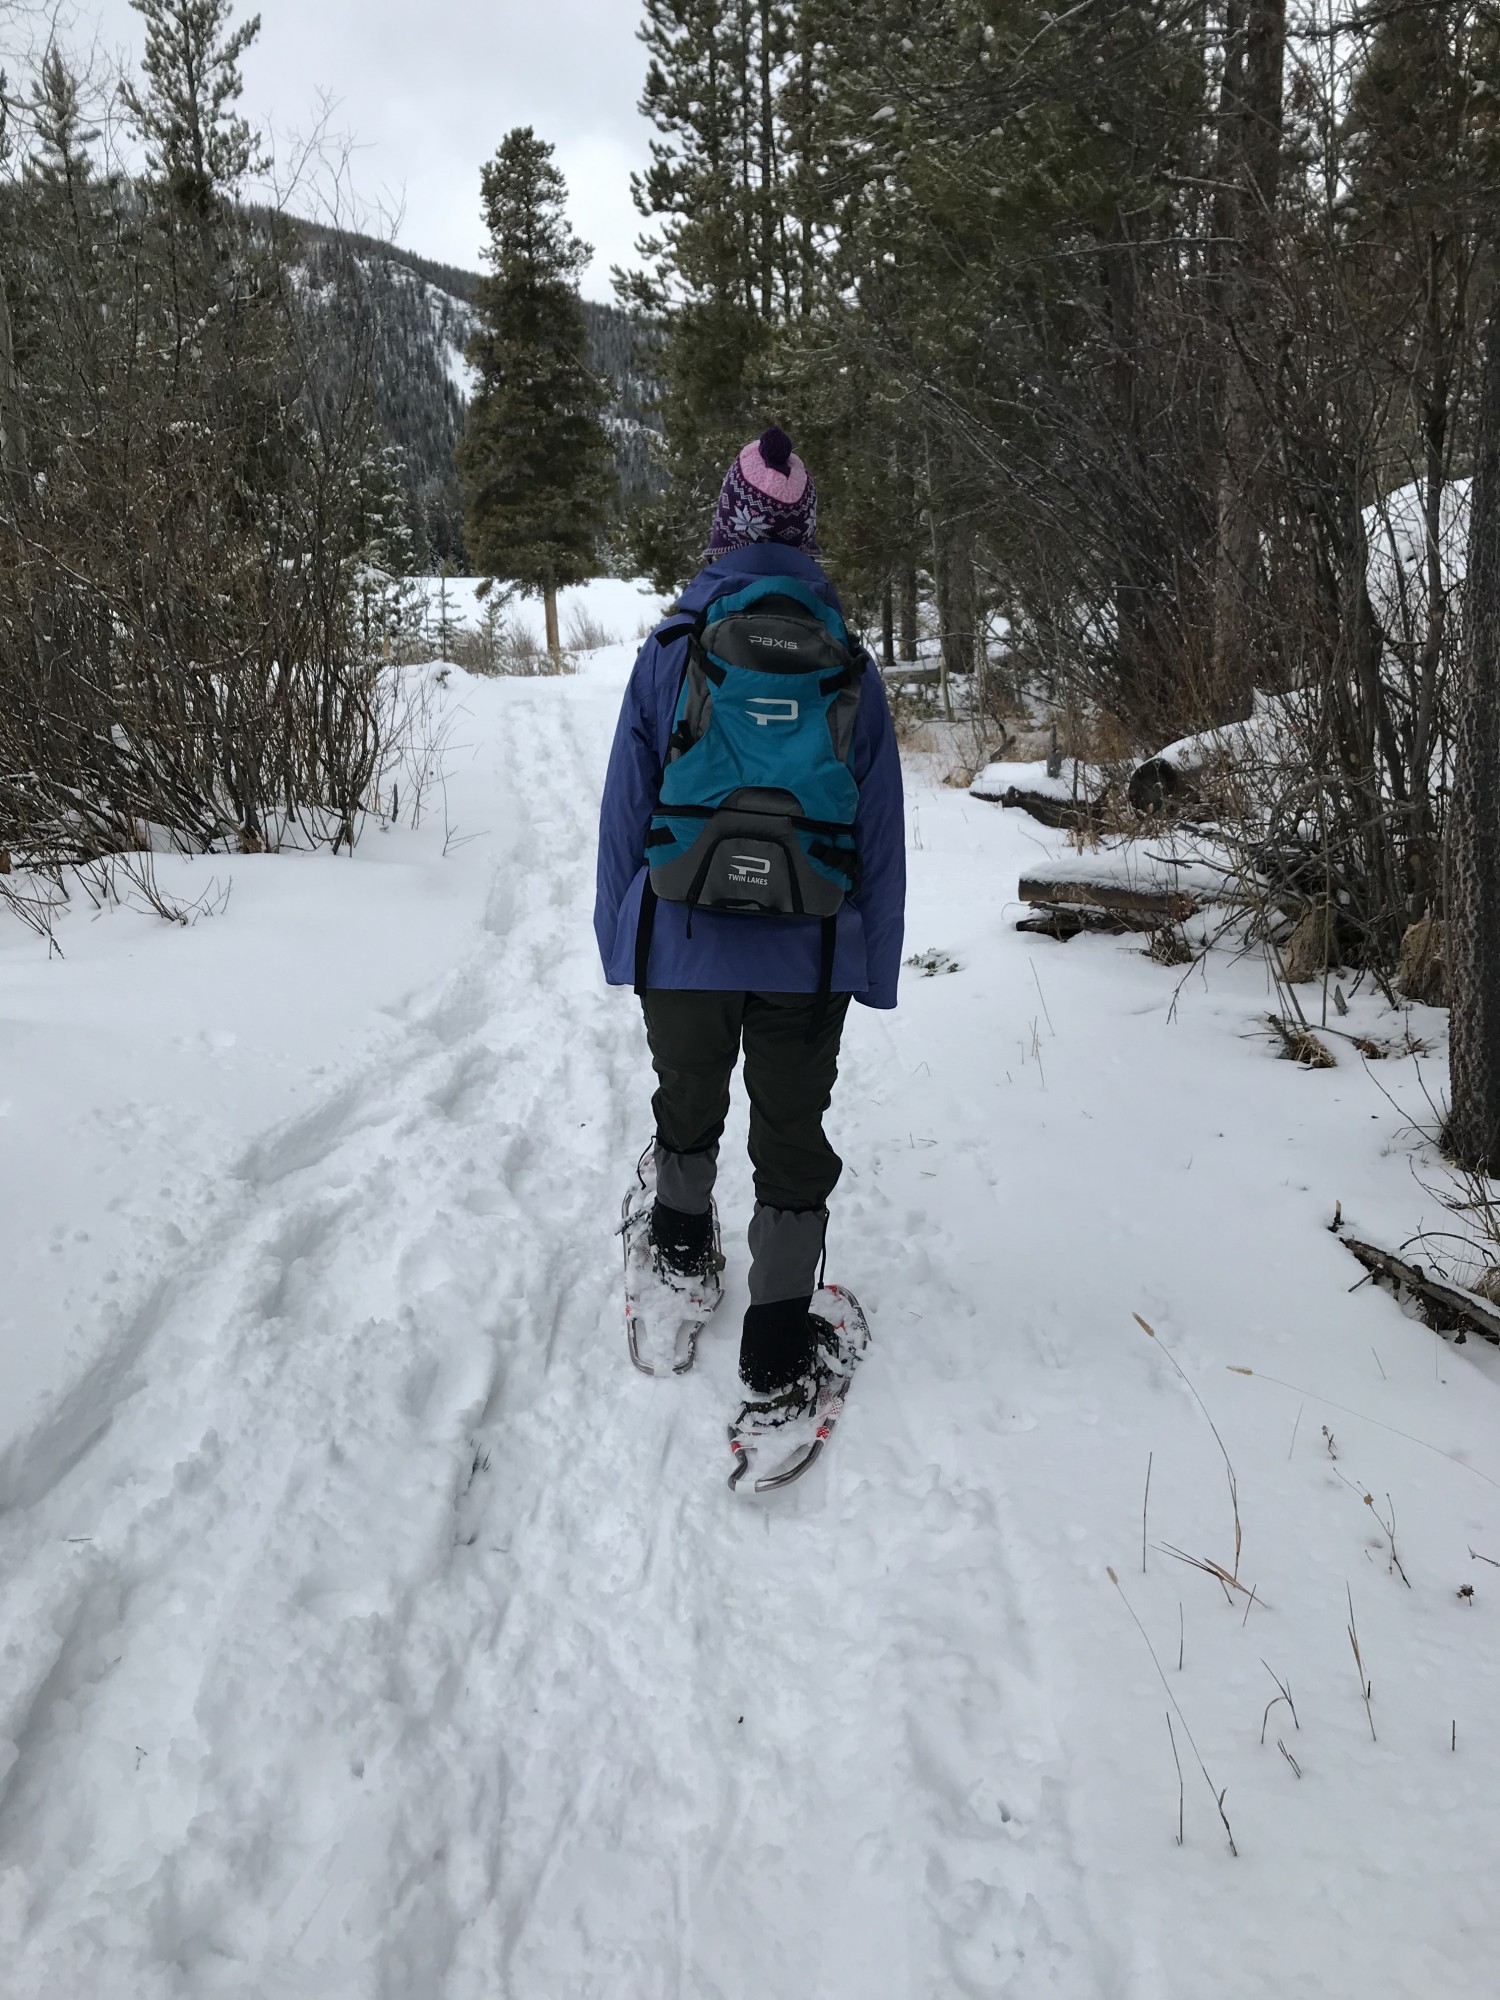
Stride is walking forward on snowshoes at a gate that is compatible with the snowshoer’s step. Breaking trail is simply making tracks through untouched snow. I explain how rotating leaders helps to conserve energy when breaking trail. A fun game to put stride and breaking trail to work is “follow-the-leader.” Although more effective with children, it can be fun to play with high school and college students, as well as adults in teaching them a game they can do with kids. I modify the game however.
I have everyone line up with at least an arm distance apart. Each participant is to identify an animal or cartoon character and think of a fun way the character would walk. The group in single-file follows the first leader for about two minutes, all walking in character. The leader then falls to the back of the line. The next leader announces and demonstrates their chosen character and fun stride, and off they go for another couple minutes. The game continues until everyone has opportunity to lead.
Another competition game I like to use is a “sled race.” This game is exceedingly popular with all age groups. Students have opportunity to put many snowshoeing skills to use including walking, running, turning, digging in using traction, and getting up because they often fall down. I have plastic sleds for each group of three. One person rides in the sled while the other two pull them toward a finish line at the sound of a whistle. I run a rope parallel to the staring line about 25 to 50 yards away, depending on their age group. Groups race to the finish line. I then have them switch riders and run three races in total so all participants have an opportunity to ride.
In the technique of turning around, I have students learn to step turn. This turn involves lifting one snowshoe and placing it at a 90-degree angle to the other shoe, shifting their body, and bringing the other snowshoe back alongside making a half-turn. I also have them kick turn, making a full 180-degree turn by placing one snowshoe in opposite direction to the other and shifting their body to make a full-turnaround. The game I use for this activity I combine with stamping and edging.
Leaning about stamping and edging helps to prepare snowshoers for other techniques needed later on. I demonstrate and have student try stamping by stepping lightly with the heel first and then toe, pausing for a brief moment, and then transferring their weight onto the full snowshoe. This technique helps to solidify snow. The same goes with edging, whereby they plant their snowshoe edgewise into the snow to solidify it and build a step.
An enjoyable game to play with children and have them use stamping, edging, side kicking and turning around is “Simon Says.” Have them do all of the movements you announce, but only when you say “Simons Say.” If they make the move when you do not say the words, they sit out. To modify the game, have the child who first makes the incorrect move lead the next round of the game. This way, no one is out of the game and kids have opportunity to lead the group.
Ascending, traversing, switch-backing, and descending are procedures that require more skill and practice than most other techniques. They are also techniques needed for hilly or mountainous travel.
Techniques I most often teach for going up hill include: Stepping-up – stepping into the snow with toes and planting front claws or crampons into a moderate incline; scrambling – an aggressive and fast stepping-up approach on the same hill; side stepping – turning the body perpendicular to the hill and taking sideward steps by edging the snowshoe to make a step or shelf; herringbone stepping – climbing a slope with snowshoes turned out about a 45% angle, similar to the skill used in cross-country skiing; and kick stepping – used for climbing steep slopes in deep snow by kicking the toe of the snowshoe into the slope to build steps.
Traversing a hill requires the use of what has been called side kicking or traversing. This technique involves kicking in the edge of the snowshoe to form a shelf while moving at an upward angle to the hill. I also explain and demonstrate switch-backing that includes making an alternate route uphill rather than going up a fall line.
And finally I teach descending using: down hilling – a technique involving walking down a gradual slope with snowshoes level to the horizon, keeping knees flexed, and putting weight directly on the shoe with some shift to the heel depending on the angle of the slope; side stepping – the same as sidestepping up a hill, except reversing the technique to take you down a steep slope; and step sliding or running/glissading – for moving fast down a hill by leaning back, pulling the toes up, and moving down with long strides.
These are the techniques, and here are some activities. For kids, playing “hide and seek” on and around hills offers good opportunity to use ascending and descending skills along with most of their other snowshoeing skill they learned previously.
For older kids and adult, I created a “compass game” that involves learning basic compass skills and following a series of instructions that will result in finding a specific location if reading the compass and pacing correctly. Put the compass game in a h
illy area and participants have opportunity to put the hilling skills to work.
“Sprint races” or “marathon races” up and down a hill can be a fun challenge. Have teams race a marathon with two runners at a time snowshoeing up and down a hill. They would hand off a flag to a team member as they reach the bottom. The next pair would continue until all team members have raced. Or have the entire group do a sprint race to the summit and back down at the sound of the whistle.
“Okay gang, now that you are at the bottom of the hill and had some fun getting here, let’s put those ascending and descending skills to work.” I then said, “At the sound of the whistle, race to the top of the hill, put your arms in the air when you reach the top, and then race back down. The first one to cross this finish line wins the event.” Again, they looked at each other as if I was nuts, shrugged their shoulders, and at the sound of the whistle ran uphill on snowshoes. And their eyes were as big as saucers.
Recommended Reading:
A Snow Walker’s Companion: Winter Trail Skills from the Far North, Alexandra and Garrett Conover, McGraw-Hill Company, 1994
Snowshoeing, Sally Edwards and Melissa McKenzie, Human Kinetics Publisher, 1995.
Snowshoeing, Steven Griffin, Stackpole Books, 1998.
Snowshoeing, Phil Savignano, Globe Pequot Press, 2000.
Snowshoeing: A Trailside Guide, Larry Olmsted, WW Norton & Company, 1998.
Snowshoeing: From Novice to Master, Gene Prater and Dave Felkley, Editor, Mountaineers Books, 2002.
The Snowshoe Experience: A Beginner’s Guide to Gearing Up and Enjoying Winter Fitness, Claire Walters, Workman Publishing Co, 2004.
The Essential Snowshoer: A Step by Step Guide, Marianne Zwosta, McGraw-Hill, 1997.
The Snowshoe Handbook, Len McDougall, Buford Books, 2000.
