Depending on where you live—or where you are traveling to—you may have snow on the ground! To ensure you can enjoy your snowshoeing adventures as long as possible, you must stay on top of your stretches and supportive exercises.
Supportive exercises are helpful long-term since snowshoeing can require you to use stabilizing muscles not actively used during everyday life. By engaging in supplementary workouts with your snowshoeing (and some cross-training, too), you can help to prevent injuries, strains, and joint issues.
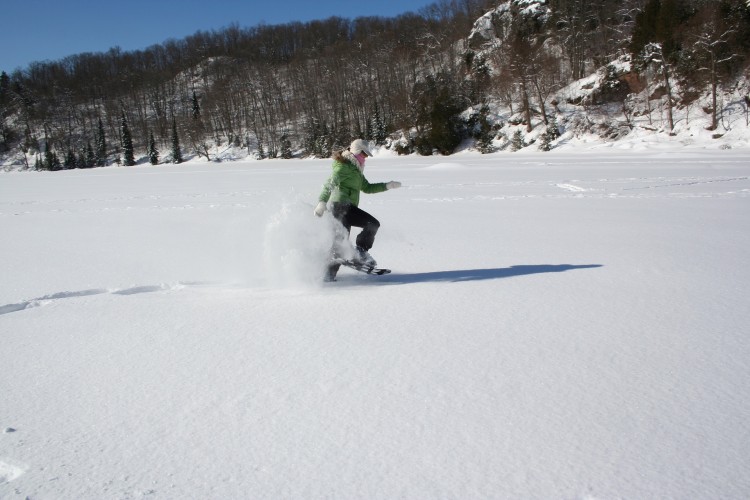
Use these exercises to improve your snowshoeing, whether walking or running. Image by sharonj from Pixabay
Supportive Exercises
Below are the seven exercises to help support your snowshoeing activities and the top cross-training workouts. As you try these workouts, they can gauge your preparedness to go on more difficult snowshoeing adventures.
If you struggle to complete the exercises below, you may want to work more on your overall fitness and stick to easy-to-moderate snowshoeing trails before attempting an advanced backcountry snowshoeing trip in deep powder.
1. Weighted Step-Ups
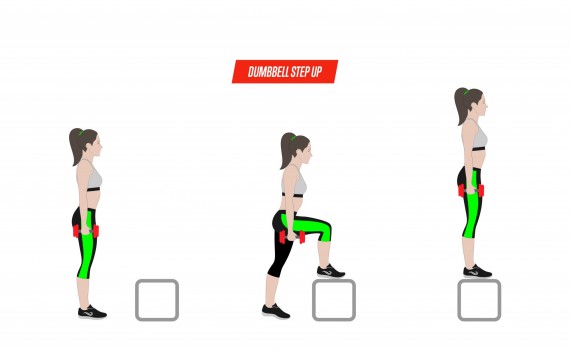
To do this exercise, you will need a solid object to step on—a pilates block, stairs, log, etc.—and a pair of dumbbells. Position yourself facing the thing you will step on, with the weights in your hands and your arms held by your sides.
Once you are in position, step up on the object one foot after another, then step back down. Do 1-3 sets of 10 repetitions of this movement for maximum impact.
With the weighted step-ups, you are stimulating the extra effort it takes to wade through the snow in snowshoes. The dumbbells should put realistic fatigue on your arms—as you use them more than you would expect while snowshoeing, even if you don’t have poles. Also, the movement of stepping up will help build up your glutes, quads, and hamstrings.
Read More: The Snowshoers Guide To Staying Fit in the Off Season
2. Jump Squat
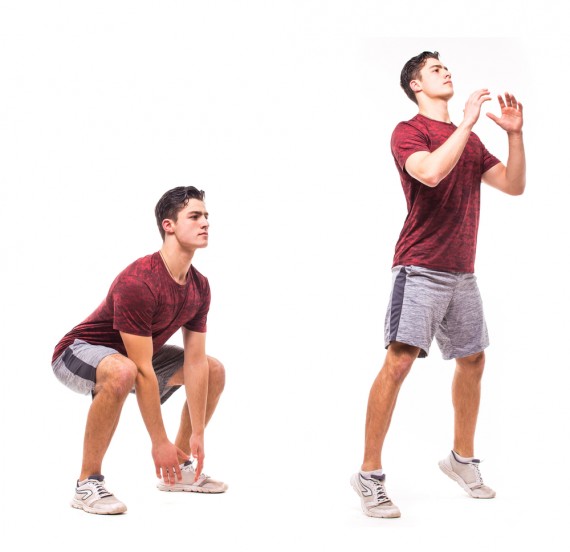
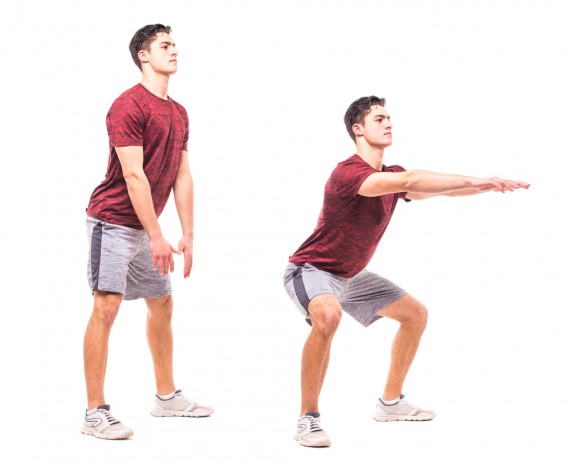
With your feet positioned shoulder-width apart, sink until your legs make a 90-degree angle, though you can go deeper if you are comfortable. Your arms should be hanging loose at your side.
Once you reach the squat position, do not hold the position. Instead, immediately transition to jumping. Be sure to engage your arms and swing them up—fingertips reaching toward the ceiling at the height of your jump—to help gain more explosive momentum.
Doing this exercise can develop greater explosive power, which can be helpful, especially if you get stuck in a powdery snowbank. As for the muscles this exercise targets, it is a pretty complete lower body move, as it helps build up your calves, hamstrings, quads, and glutes while assisting with overall stabilization.
Also, researchers found that participants who practiced jump squatting for over two months enjoyed these benefits, so you can quickly see an improvement in your snowshoeing.
Read More: 3 Leg Exercises Every Snowshoer Can Do Without Weights
3. Walking Lunges
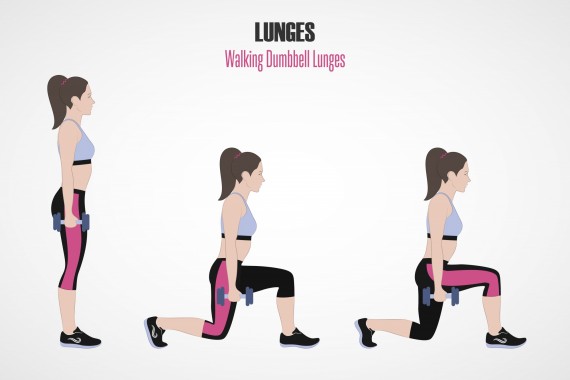
Begin from a standing position and step forward with your right foot. Sink into an almost kneeling position, though your left knee should not touch the floor, and your right knee should only bend enough to reach a 90-degree angle.
Move smoothly from the lunging position by bringing your left leg up to meet with your right foot, then alternate lunging sides by stepping forward with your left foot.
By completing walking lunges, you can stimulate the increased difficulty of movement while snowshoeing. Also, by walking while performing lunges, you can actively build up your stabilizing leg muscles—like the vastus medialis obliquus—and your main leg muscle groups: the glutes, quads, and hamstrings.
If you don’t have a lot of room to perform walking lunges, these can be done easily on a treadmill set at a lower speed. Also, carrying a set of dumbbells is an excellent option if you want to add extra resistance.
Read More: Exercises To Improve Balance: One Foot at a Time
4. Cable Hip Flexion
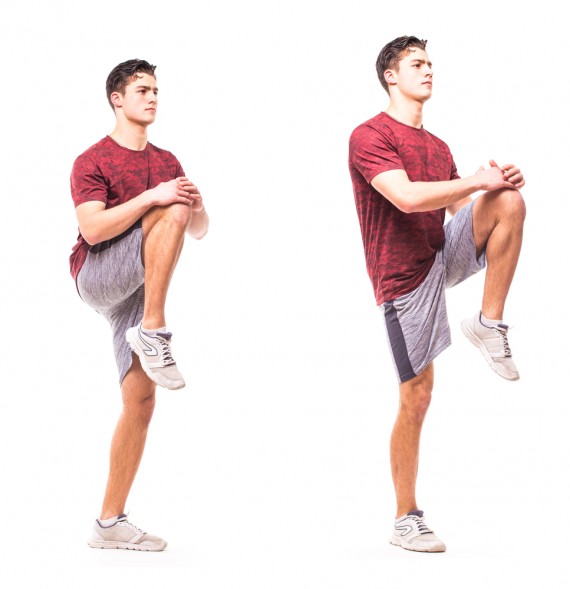
You can use a cable machine to perform this exercise or body weight. If using the cable machine, place a lower resistance cuff around your right ankle and stand far enough away for slight tension pulling at your ankle as you stand hip-width apart.
Once in position, lift your right knee to be level with your hip or higher, as long as you maintain your balance and upright posture. After you raise your knee, keep control of your leg as you lower it back down. The resistance cuff will try to pull your leg back but focus on lowering your leg straight down, touching your toe to the ground, then repeat the movement. Ten repetitions equal one set, and you will want to do at least two sets on each leg.
If you need to modify this move, you can start without resistance and use the back of a chair to help with your balance. Keep your lifting and lowering movement controlled and deliberate so you can still reap the range of motion benefits.
As tight hips can make it difficult to move naturally and potentially lead to injuries, you must focus on maintaining a good range of motion through your hips and strengthen that area. This movement allows you to get rid of lingering stiffness that can develop as you snowshoe as it helps you to create stronger glutes and hamstrings.
Read More: Strengthen Your Hips for Snowshoeing With These At-Home Exercises
5. Sumo Squats
To do a sumo squat, you must stand slightly wider than shoulder-width apart with your hands clasped at chest level. Then, bend your knees and sink into a deep squat, though be sure not to allow your knees to cross over the toes of your feet. Hold the position for 30 seconds, then come back up.
For such a simple exercise, sumo squats provide a lot of bang for your exercise buck. Not only does this exercise help strengthen your hamstrings, glutes, calves, and quads, but it is also excellent at addressing your hip flexors and inner thigh muscles.
Read More: Snowshoe Training Without Snow
6. Planks
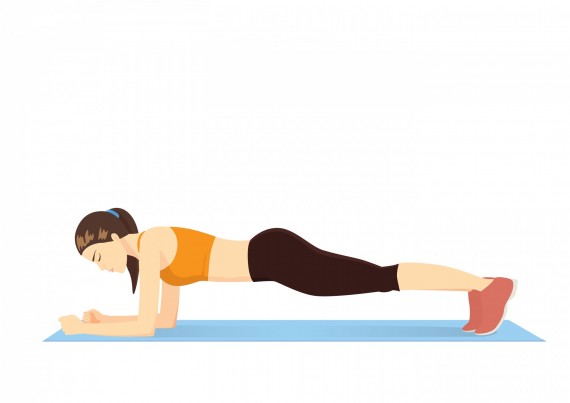
For a full-body strengthening exercise, add planks to your supplementary snowshoe routine. Start by lying on the floor, face down. Then, push up so that you are balanced on your forearms and toes. Your body should make a straight sloping line with no bowing at the back or around your knees. Hold the plank position for at least 30 seconds.
Along with working your arms, shoulders, and core, doing planks can help build up your hip flexors, quads, and tibialis anterior, which are the muscles that run alongside your calves and do a lot to stabilize you while out snowshoeing.
Read More: Ask the Coach: Pre-Season Snowshoe Runner Training
7. Bulgarian Split Squat
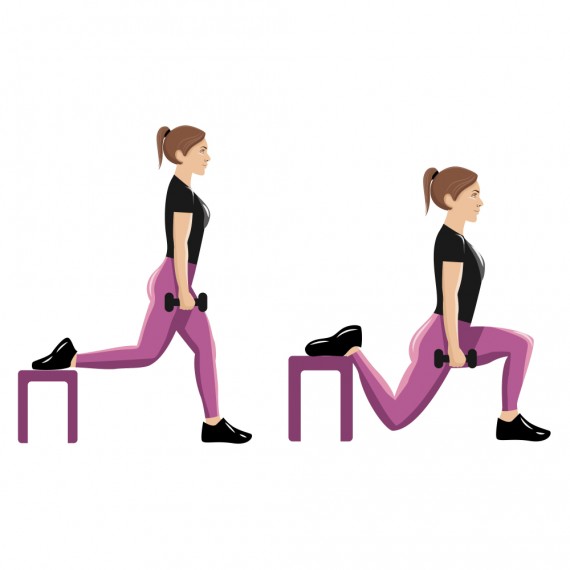
With a sturdy chair or weight bench, place your left foot on the chair while you face the opposite direction with your hands on your hips. Next, bend your right knee and sink into a squat until your left knee either touches the floor or is just above it (it depends on the height of the bench or chair you use).
The main muscles targeted by this exercise are your glutes and quads, with your other leg muscles engaged as stabilizers. This exercise will help you with your balance as you snowshoe and build up your muscular endurance as a whole.
Read More: Building and Maintaining Endurance All Year Long for Snowshoeing
Excellent Cross-Training To Support Snowshoeing
Adding the above exercises to your workouts 3-4 times a week can do a lot to help strengthen your body and keep your legs and core intact throughout the snowshoeing season. However, you should also be doing some cross-training.
Crosstraining has numerous benefits and is often recommended as single-sport amateur athletes are far more likely to become injured due to the lack of auxiliary muscle building. So, if you want to balance out your snowshoe adventures, try incorporating these cross-training activities at least twice a week.
Read More: The Snowshoer’s Guide To Staying Fit in the Off-Season
Snowshoe Running
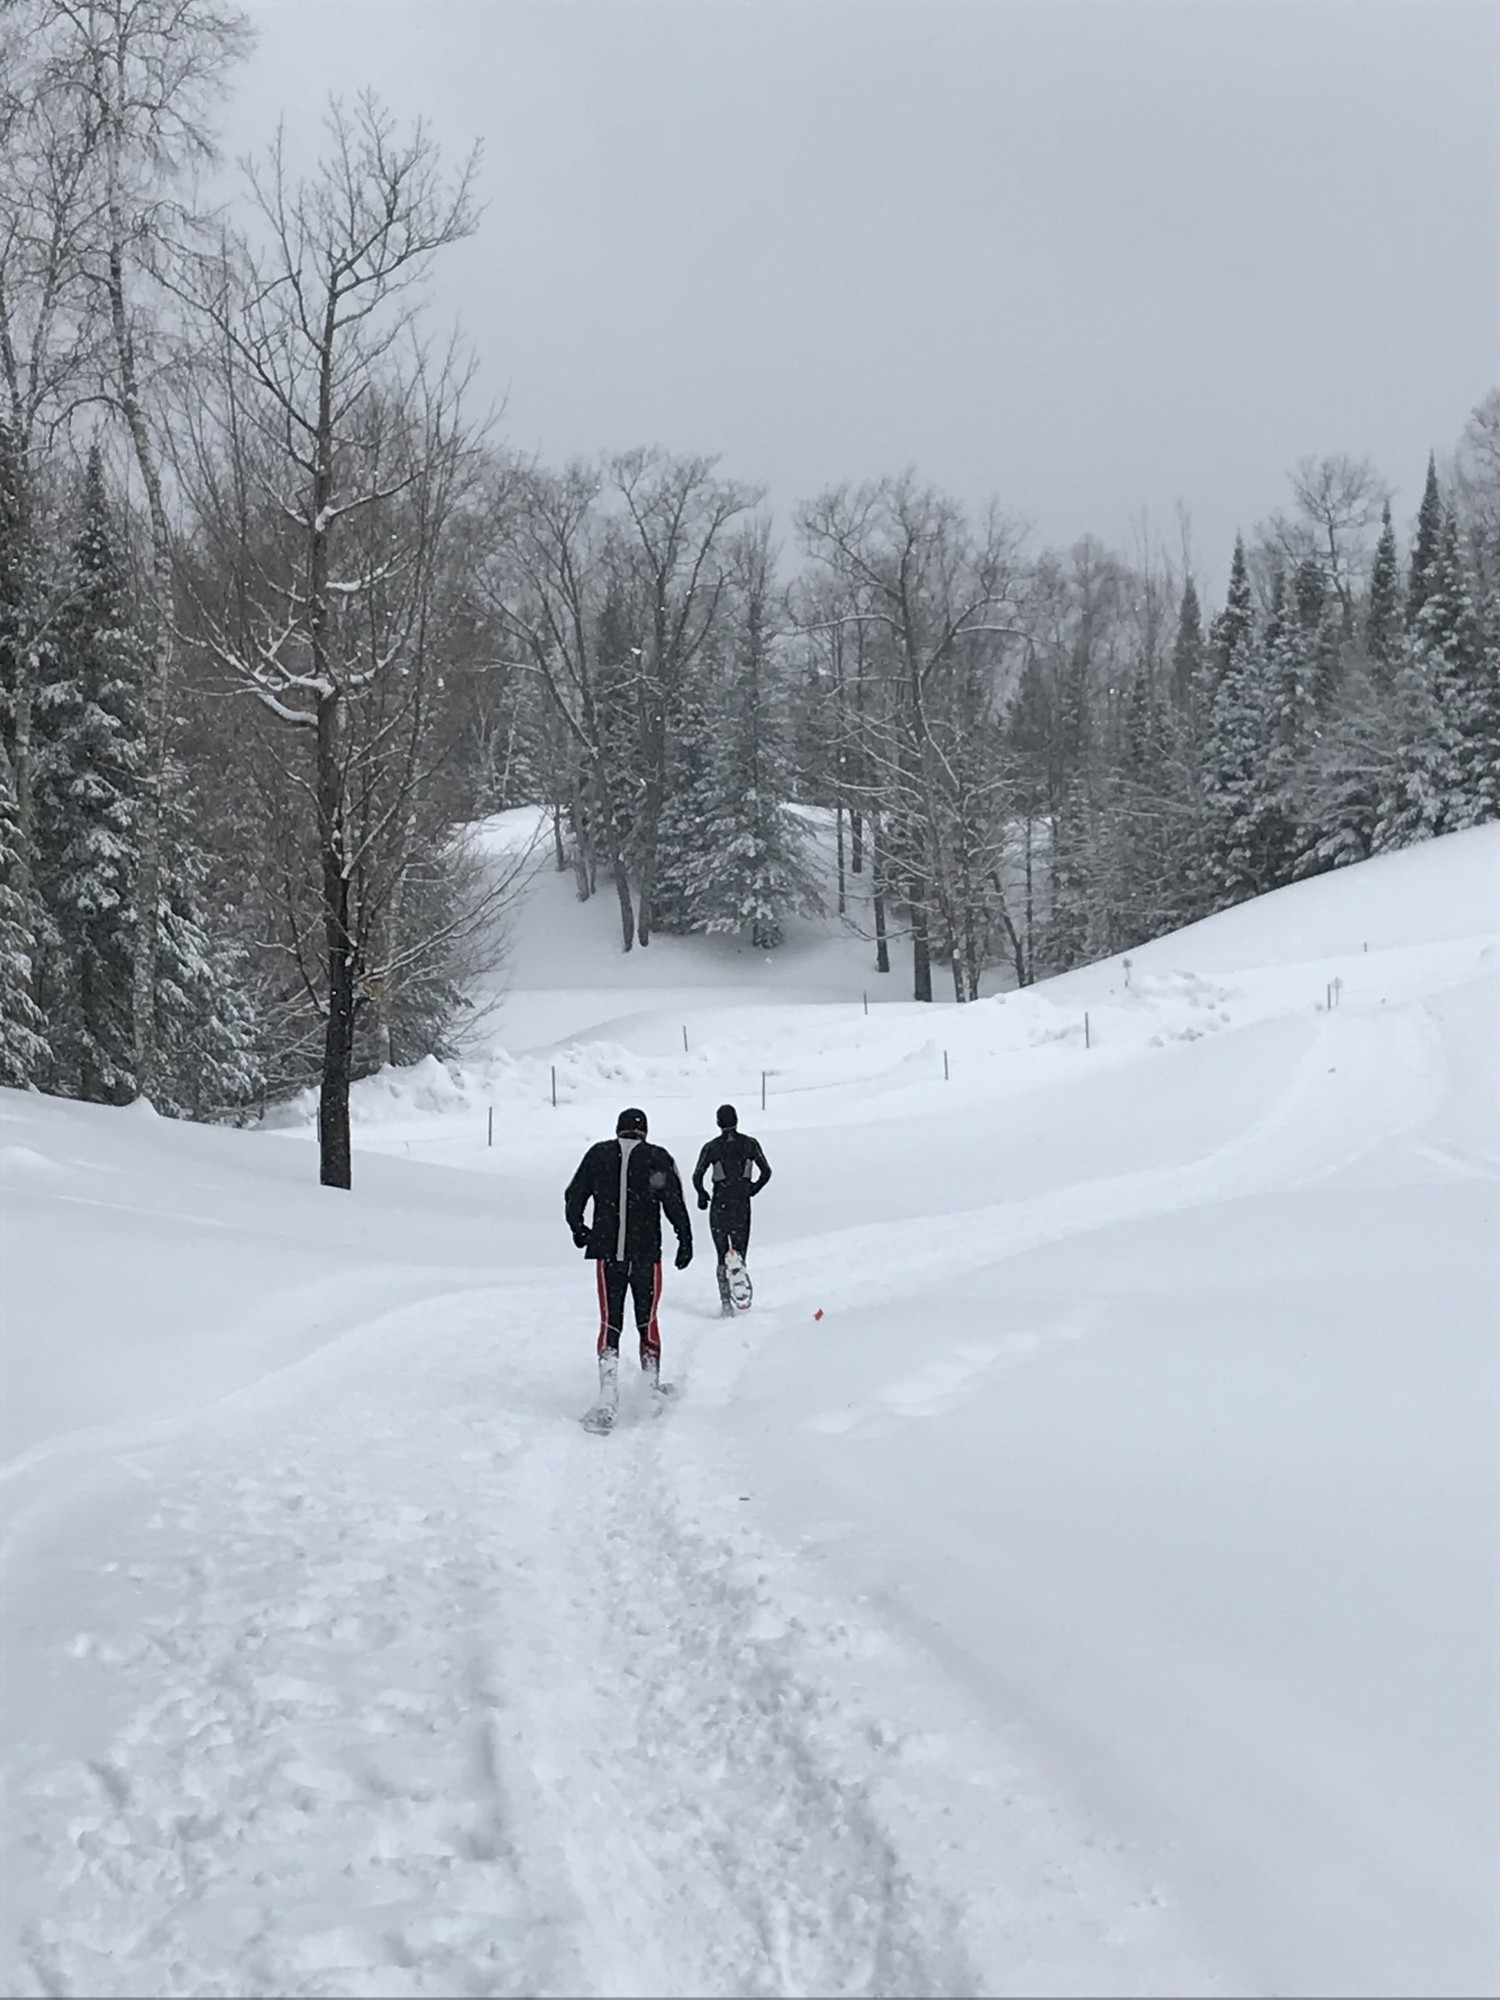
If you haven’t had quite enough snowshoeing, you may consider adding snowshoe running to your cross-training. You can even race on snowshoes, and some races can take place in the mountains or backcountry. They can be similarly rewarding.
It allows you to venture out in the snow and helps keep your cold tolerance up while you develop greater explosive power. That extra power can help get you through deep powder the next time you go snowshoeing.
Also, if you don’t have snowshoes for running or racing, be sure to read up on the reviews before you commit to any purchases.
Off-season variation – To keep up with your cross-training once the snow melts, you can switch to trail running. Trail running allows you to keep your altitude tolerance and stamina up as your auxiliary leg muscles stay engaged. Trail running requires more micro-adjustments to your balance and position than road running.
Read More: Run, Rabbit, Run: Transition from Running to Snowshoe Racing
Cross-Country Skiing
Another good cross-training workout is cross-country skiing. This exercise builds up many muscles you will need while snowshoeing while also targeting your core and arms more completely. And, unlike downhill skiing, you don’t run as high a risk of being injured while cross-country skiing and ending your snowshoeing season early.
Also, another side benefit of cross-country skiing is there is an overlap with snowshoeing areas (just remember to follow winter etiquette). So while you may not be able to reach a particular section of the site you are exploring on skis, you can always come back later with your snowshoes!
Off-season variation – While there is no one-to-one analog for cross-country skiing, winter hiking is a good substitute. You can explore different areas of the mountains you love to snowshoe and keep up your climbing endurance and altitude tolerance.
Adding these supplementary exercises and cross-training to your workout regime can increase your chances of having a safe, injury-free snowshoeing season.
This article was first published on Nov 22, 2019, and was most recently updated on Sept 27, 2022.
Read More: Snowshoeing for Improved Fitness with Nordic Walking Poles



This is one of the best articles. Thank you
Thanks, Nisha. We’re so glad that you liked the article and found it useful! -Susan, Snowshoe Mag Editor